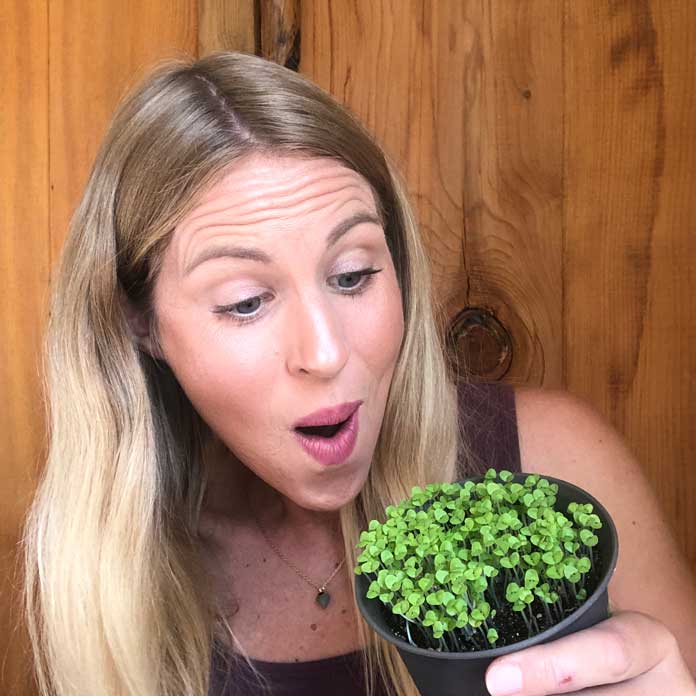
If you are intrigued by the idea of growing microgreens but worried that you lack a green thumb, take heart! Microgreens are simple to grow!
That being said, some Microgreens are definitely easier to grow than others. If you are new to growing, set yourself up for success by starting with one of the easiest microgreens to grow. Here is my list of the top 7 easiest microgreens to grow!
Microgreens are becoming more and more popular. Many people are seeing the benefits of growing these little greens themselves Yet, some people give up quickly if their first attempts yield less than stellar results.
But do NOT give up!
You may just have attempted the wrong variety! I urge you to try again. Start with one of these top seven easiest to grow microgreens for beginners.
Why Choose to Grow Microgreens?
Microgreens first entered the scene during the 1980s when chefs began using them as garnishing for their dishes. Chefs love how microgreens make food more appealing and appetizing. They are visually stunning and packed with flavor.
New research is showing us that microgreens are also concentrated with high amounts of vitamins, minerals, and other phytonutrients. The nutritional content, along with fresh flavors and striking colors now has many home cooks using microgreens on the regular.
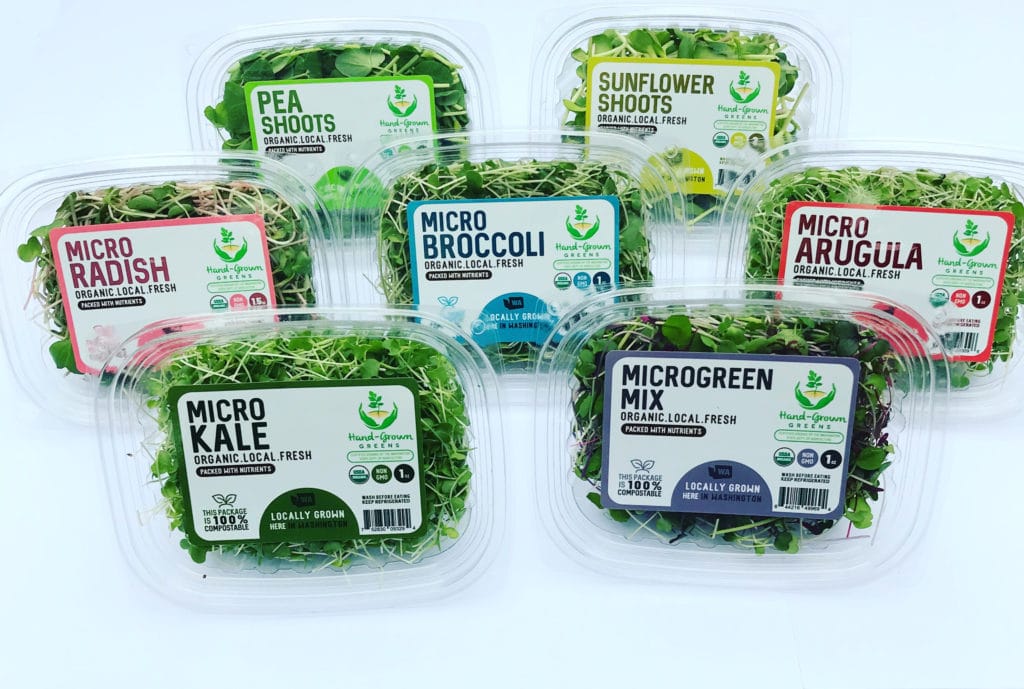
Microgreens are now found in many grocery stores making them accessible to more and more people. While its getting easier to purchase microgreens, an even better option may be to grow them yourself.
Growing your own Microgreens ensures you the freshest, highest quality microgreens at a fraction of the cost!
Growing your own microgreens also ensures that you’ll be eating greens without any harmful chemicals because you control how they are grown. It’s also a fun way to encourage your child to start eating their vegetables by having them see for themselves how they are made.
All of that, and still we even haven’t started on the health benefits of Microgreens!
I have grown well over 50 different microgreens varieties. With this experience I have narrowed it down to the following 7 as being the easiest, most consistent microgreens to grow. All seven have similar and relatively short growing cycles.
Without further ado… here are the:
7 Easiest Microgreens to Grow
Pea Shoots
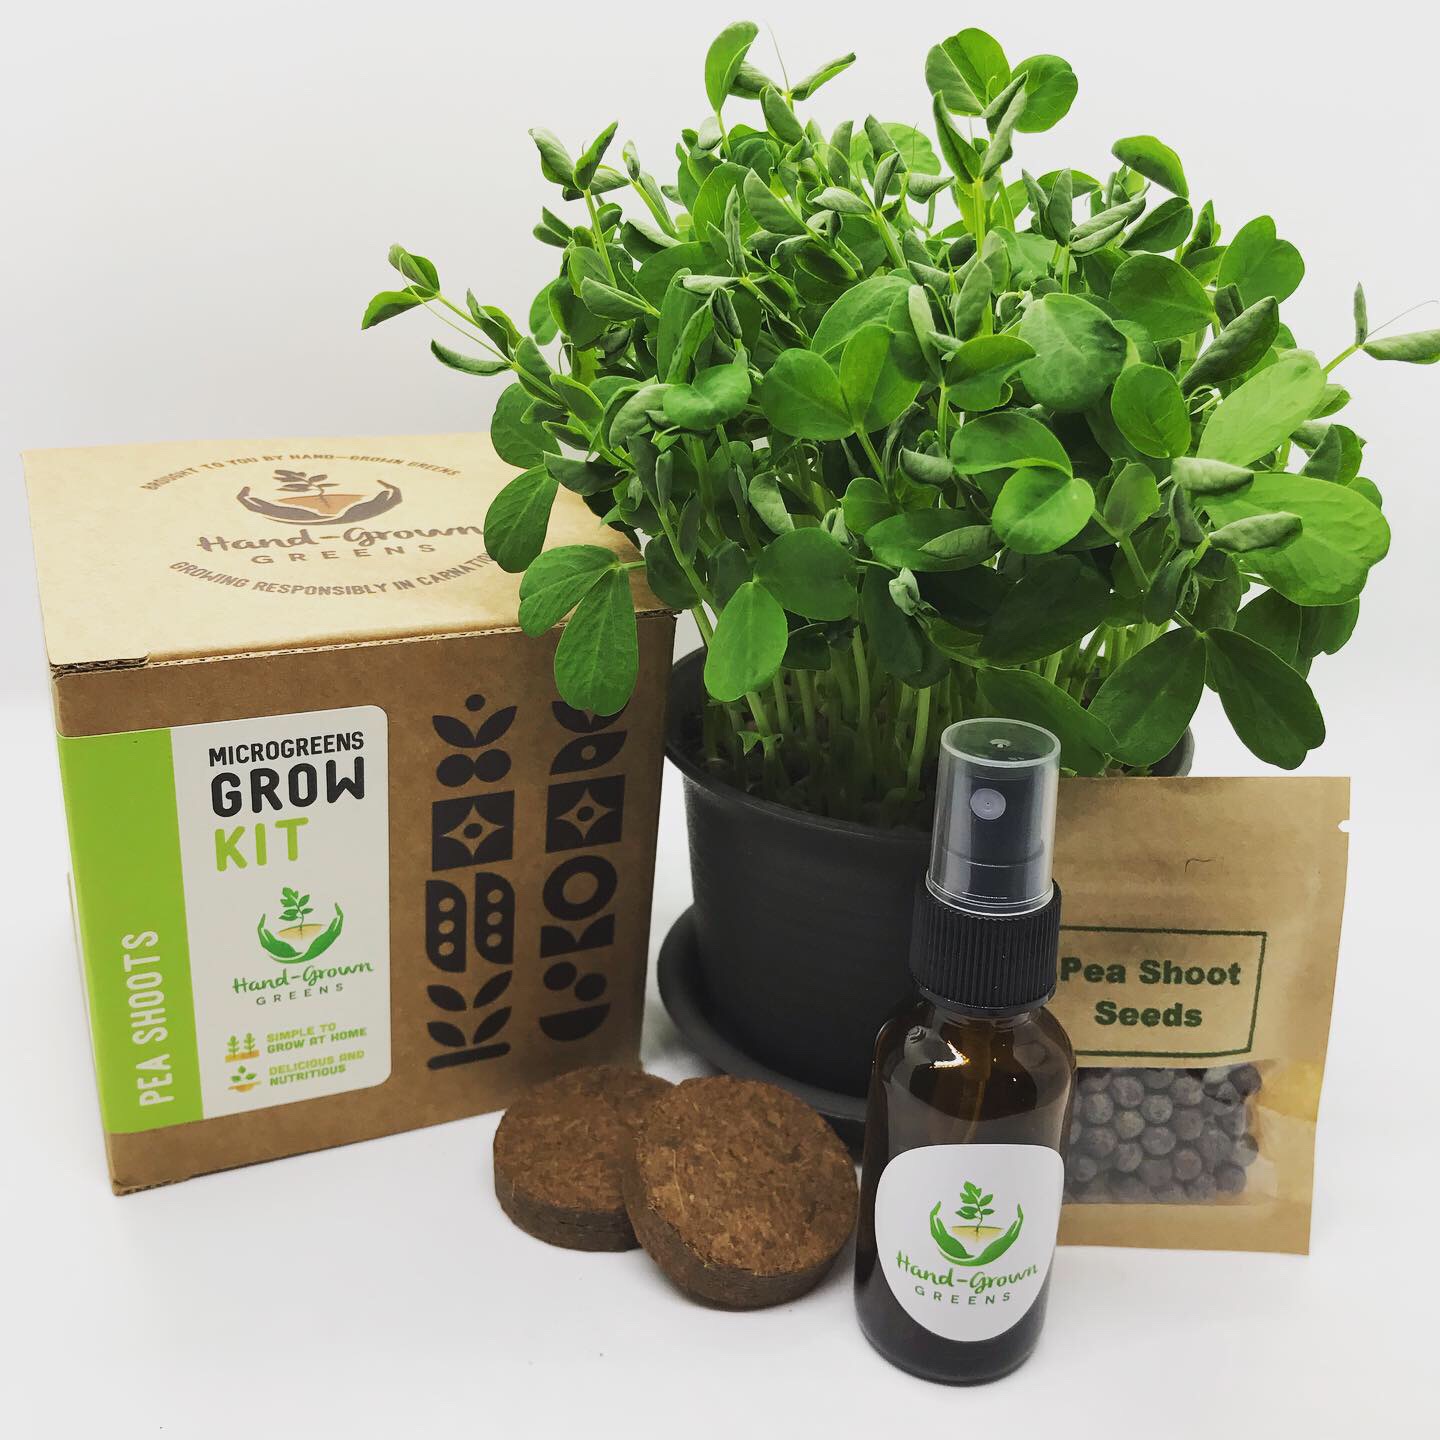
Seeding and Growing Tips
Be sure and soak your pea seeds for 8-12 hours before planting. This will allow for consistent germination times as opposed to unsoaked seeds. Rinse thoroughly after soaking and before planting. Be sure you are planting into a pot or tray with drainage holes in the bottom.
Make sure you are being patient with your greens – pea shoots need to remain covered with resistance or weight for the first 3-4 days. During this stage, check your seeds 2x a day and mist as needed to keep moist.
When to Harvest
The pea shoots are ready to harvest when they are about 4 inches tall, this is usually between 8 and 12 days. Pea shoots may have more or less tendrils depending on variety. Use a pair of sharp, clean scissors.
Nutrition and Flavor
Pea shoots are a great source of beta carotene, Vitamin A and C, folate and fiber.
These shoots are both tender and crisp with a fresh, sweet pea flavor. Pea shoots can be enjoyed raw in a myriad of ways; or try brightening up your soup or stir fry with these tasty shoots!
Sunflower Shoots
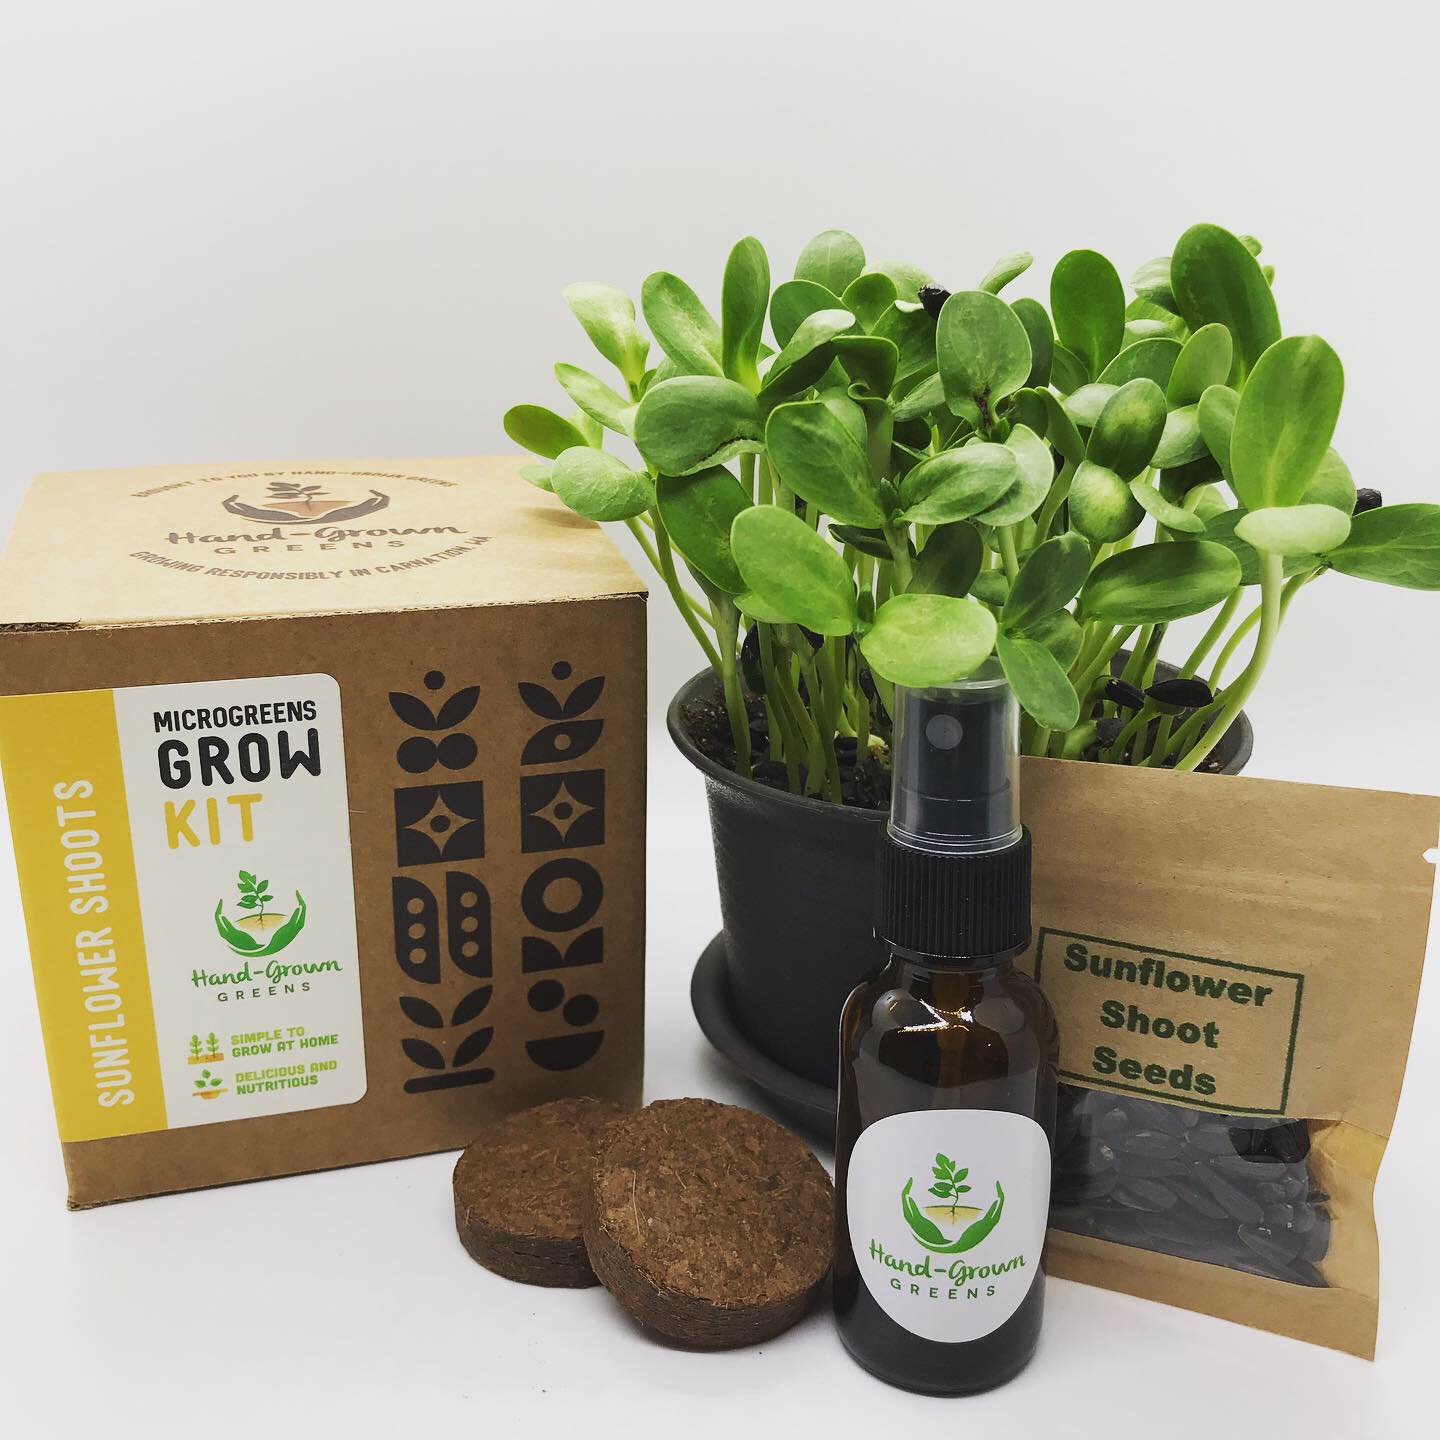
Seeding and Growing Tips
Make sure you are soaking your sunflower seeds for around 8-12 hours prior to planting. Rinse thoroughly after soaking.
Ensure that your seeds remain covered with weight or resistance applied to the lid for the first 3-4 days. Check on your microgreens morning and evening and mist as needed to keep seed moist. When the shoots begin to lift the lids and can remove it and put them in sunlight.
When to harvest
The shoots are ready to harvest when they are about 4 inches high. You may harvest them with a pair of sharp, clean scissors. If any seed hulls remain on the leaves remove them by hand before enjoying.
Nutrition and Flavor
Sunflower shoots offer protein, vitamins A, B complex, D, and E, calcium, iron, magnesium, potassium and phosphorus. They are crunchy and succulent with a nutty, fresh flavor.
These shoots make a great base for any microgreens salad, or can be used to take your sandwich, burger, or wrap to the next level. They can even make a tasty protein-filled snack when eaten on their own!
Radish Shoots

Seeding and Growing Tips
No seed soaking required. When planting radish seeds into your growing medium, ensure that you are evenly dispersing the seeds and covering as much surface area as possible. A good rule of thumb is approximately 10 seeds per square inch. Allow the seeds to germinate in darkness. A germination lid can be used to cover the seeds. Mist seeds daily to ensure seeds do not dry out. Uncover once the radish shoots begin to push up the lid (usually day 3 or 4). They are now ready to be exposed to light.
When to Harvest
Radish shoots are typically fast-growing and are often ready for harvest as soon a 7 days after planting! Use a pair of sharp, clean scissors to harvest.
Nutrition and Flavor
Micro radish greens offer a variety of nutrients including vitamins A and C, calcium, iron, and phosphorus. They have a spicy, fresh radish taste.
The crunchy shoots can be used in place of sliced radish anywhere you would normally use radish. They also go great in a mixed greens salad!
Micro Broccoli
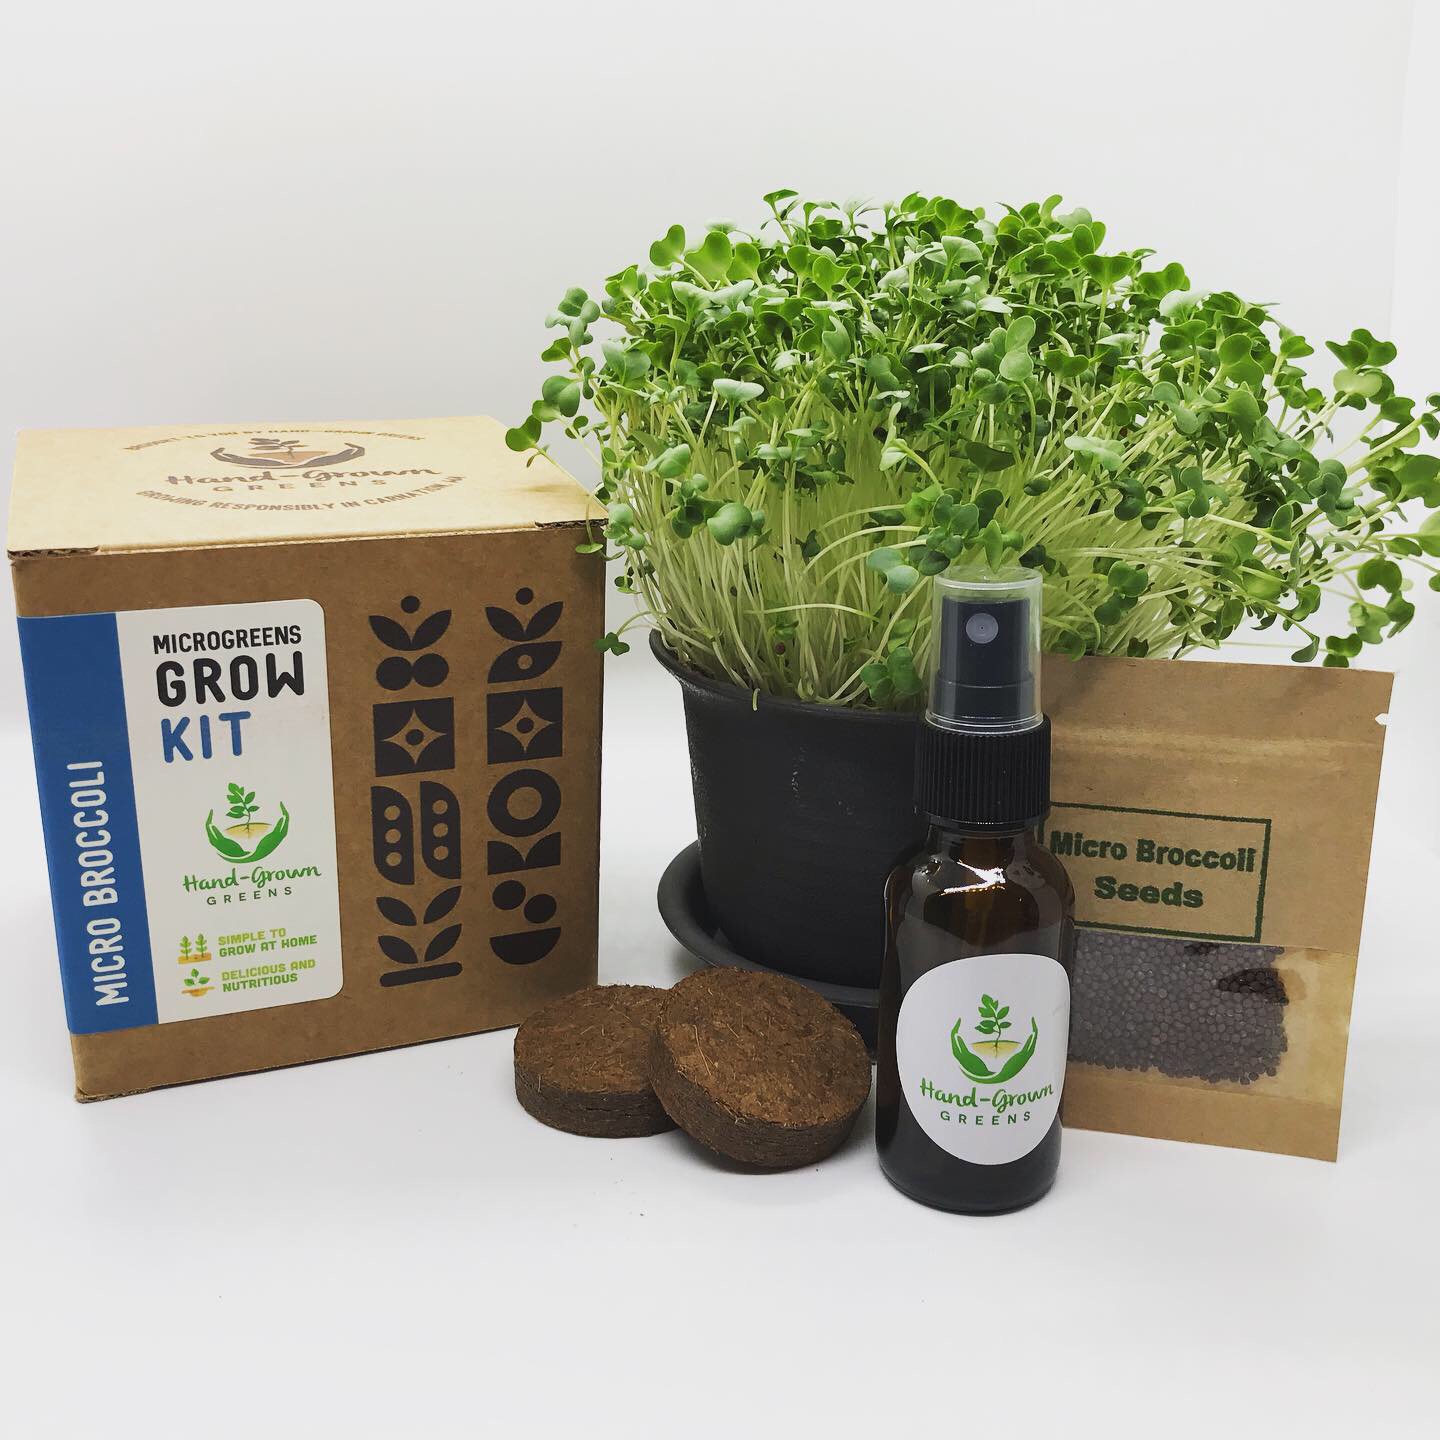
Seeding and Growing Tips
No seed soaking required. As with other microgreen varieties, make sure you are sowing your seeds in a thick layer. Being that you harvest the greens so quickly, they don’t need much room to grow. After planting seeds, cover the seeds with a lid and ensure a warm dark environment for the first several days. Mist seeds daily as needed to keep moist. Uncover and place in light by day 3 or 4.
When to Harvest
Broccoli microgreens may be ready to harvest in just 7 days when they are about 3 inches tall. 3 inches tall. Use a pair of sharp, clean scissors to cut and enjoy.
Nutrition and Flavor
Micro broccoli greens contain a variety of nutrients including vitamin A, C, and B complex, calcium, potassium, copper, fiber, and antioxidants. They have a crisp, fresh brassica flavor reminiscent of their mature counterparts.
The broccoli-flavored green is extremely versatile and approachable. Add it to any savory dish for added flavor and nutrition.
Micro Kale
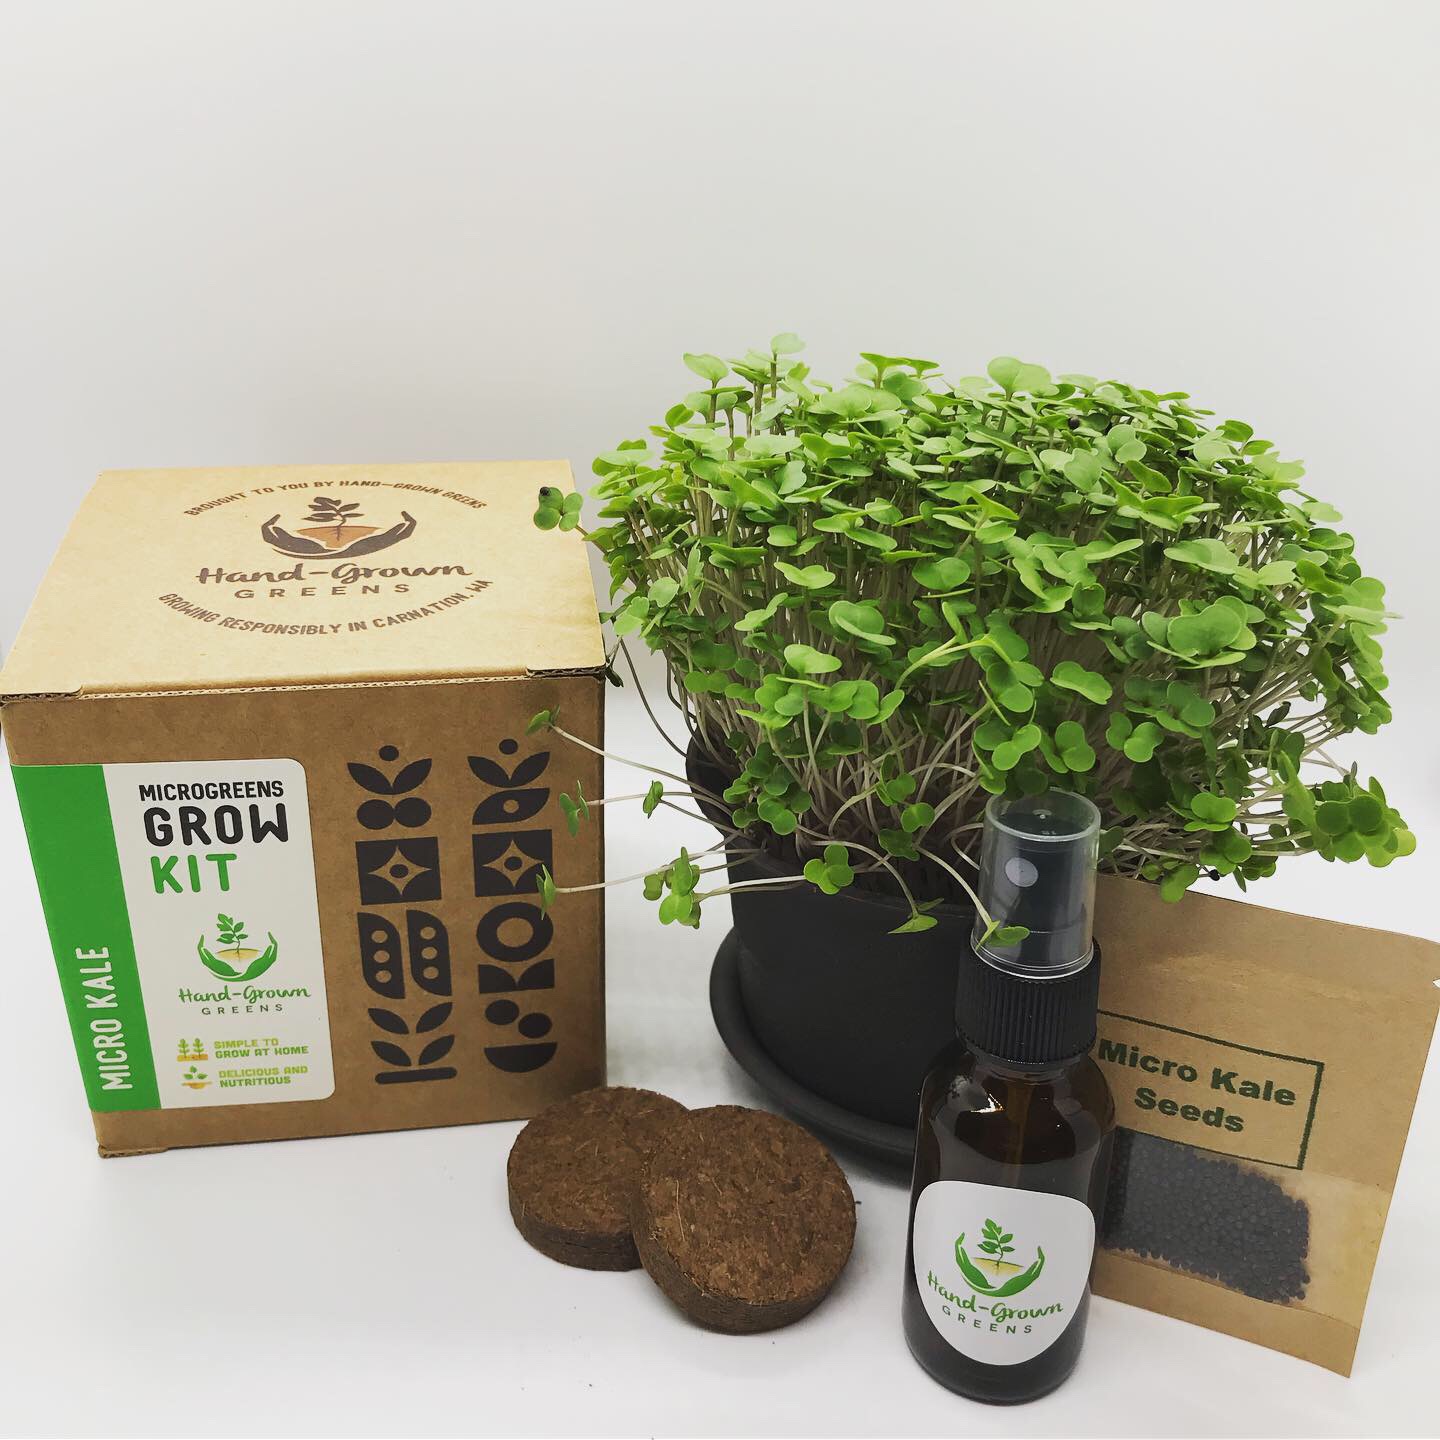
Seeding and Growing Tips
No seed soaking required. Make sure you are planting your seeds in a thick, even layer. After planting seeds, cover the seeds with a lid and ensure a warm dark environment for the
first several days. Mist seeds daily as needed to keep moist. Uncover and place in light by day 3 or 4
When to Harvest
Micro kale greens are ready to harvest in around 8 – 10 days. You’ll know they are ready when they are starting to grow their first set of true leaves and are around 3 inches tall. Use a pair of sharp, clean scissors to remove and enjoy!
Nutrition and Flavor
Micro kale greens are high in vitamins A, K, and C, as well as containing beta carotene and magnesium. The greens are loaded with antioxidants such as quercetin and kaemferol – both of which have been shown to reduce blood pressure and protect against viruses and even cancer.
Micro kale has a slightly sweet, bright flavor – a different variation on the kale flavor you may be used to. Micro kale is sweet and mild. It’s the perfect pairing over salmon, or on top of a baked potato. Its mild flavor makes it easy to top sandwiches, salads, and wraps as well.
Micro Arugula
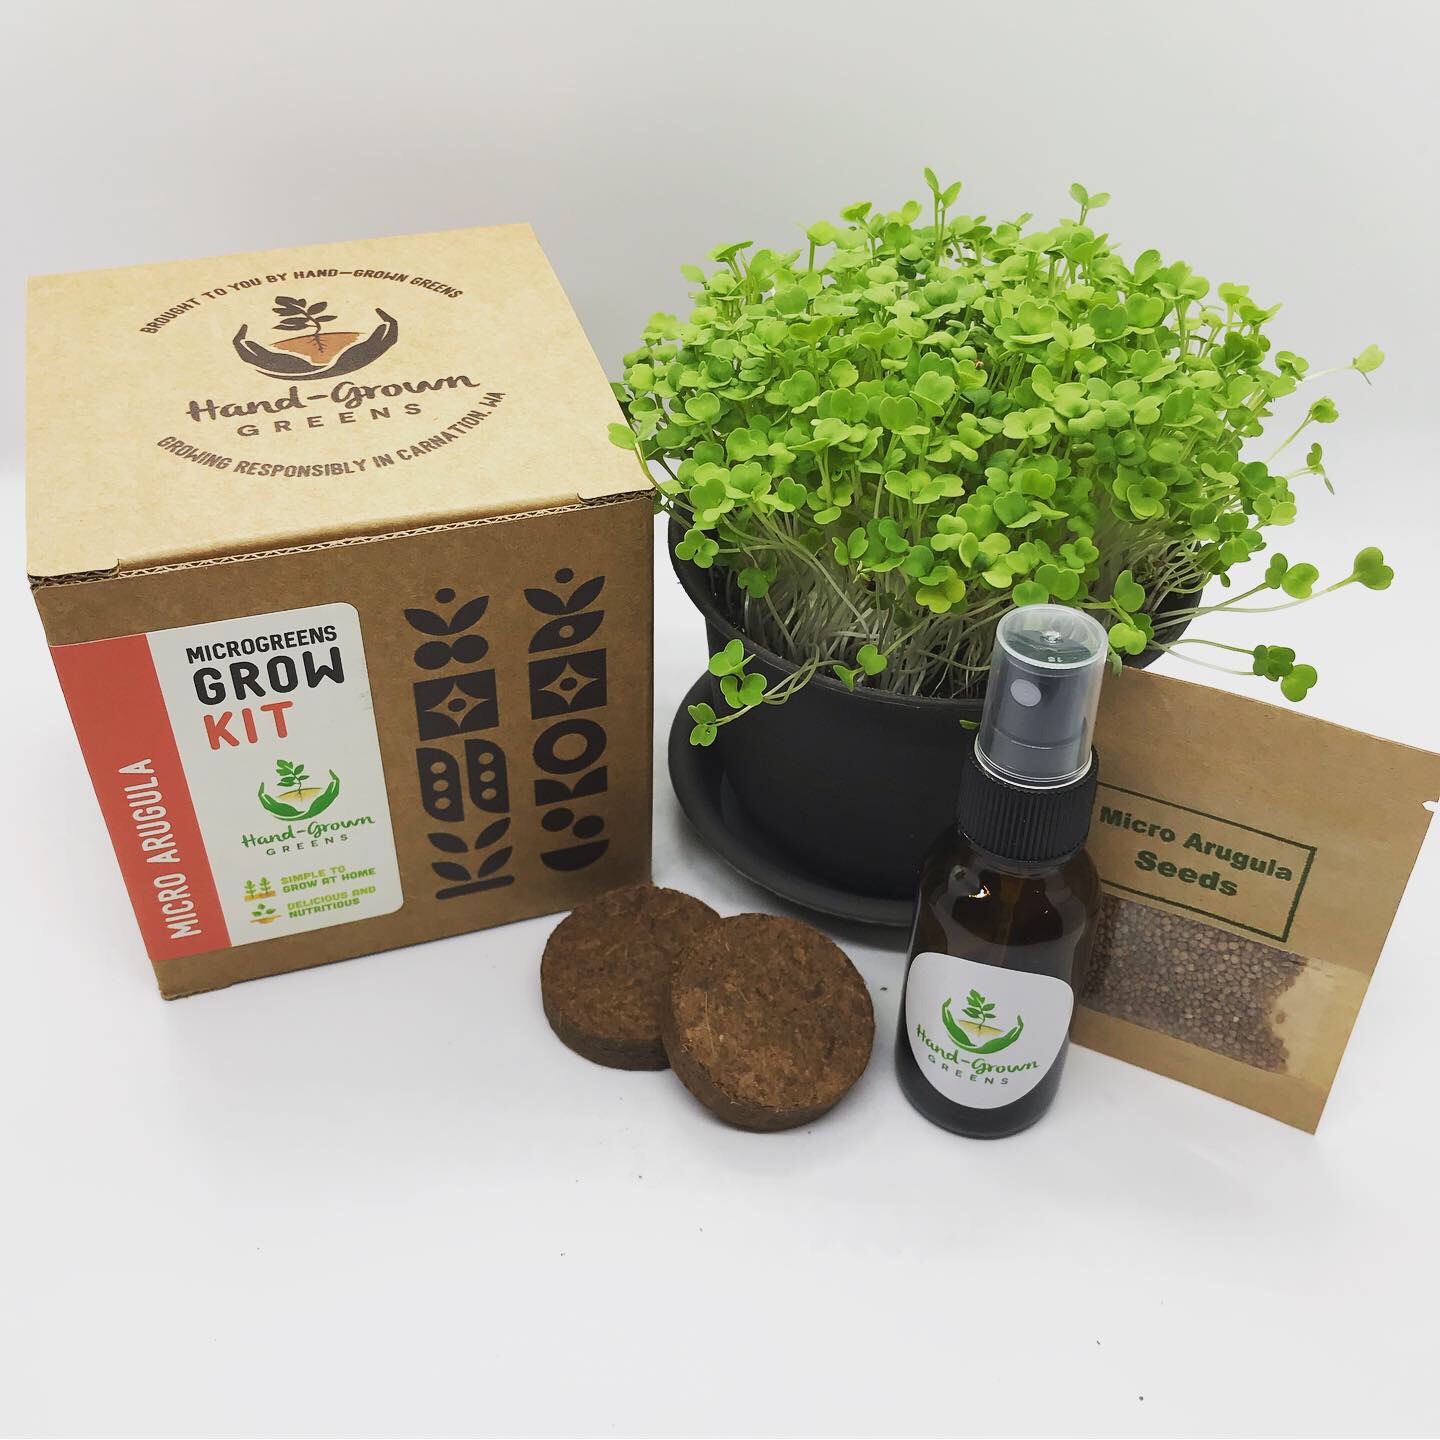
Seeding and Growing Tips
Arugula seeds are mucilaginous. This means they form a gel-like sack around each seed when they are exposed to water. This is to help keep the seeds moist so they with germinate. You probably won’t need to mist these seeds as much in the initial stages, but I still recommend you check on them 2 times daily. As with other microgreens you are going to keep the seeds moist and covered until they have fully germinated. The seeds are smaller than others so take extra care to plant in a even layer.
When to Harvest
The arugula microgreens are ready to harvest after around 10 days or after they have reached about 3 inches in height. Use a pair of clean, sharp scissors to remove and enjoy!
Nutrition and Flavor
Arugula microgreens are a particularly good source of vitamin B6, amino acids, iron, and calcium. They have a strong peppery flavor, just like mature arugula greens.
Arugula can be enjoyed in salads, on sandwiches, or thrown on a pizza to add a flavor packed punch.
Microgreen Mix
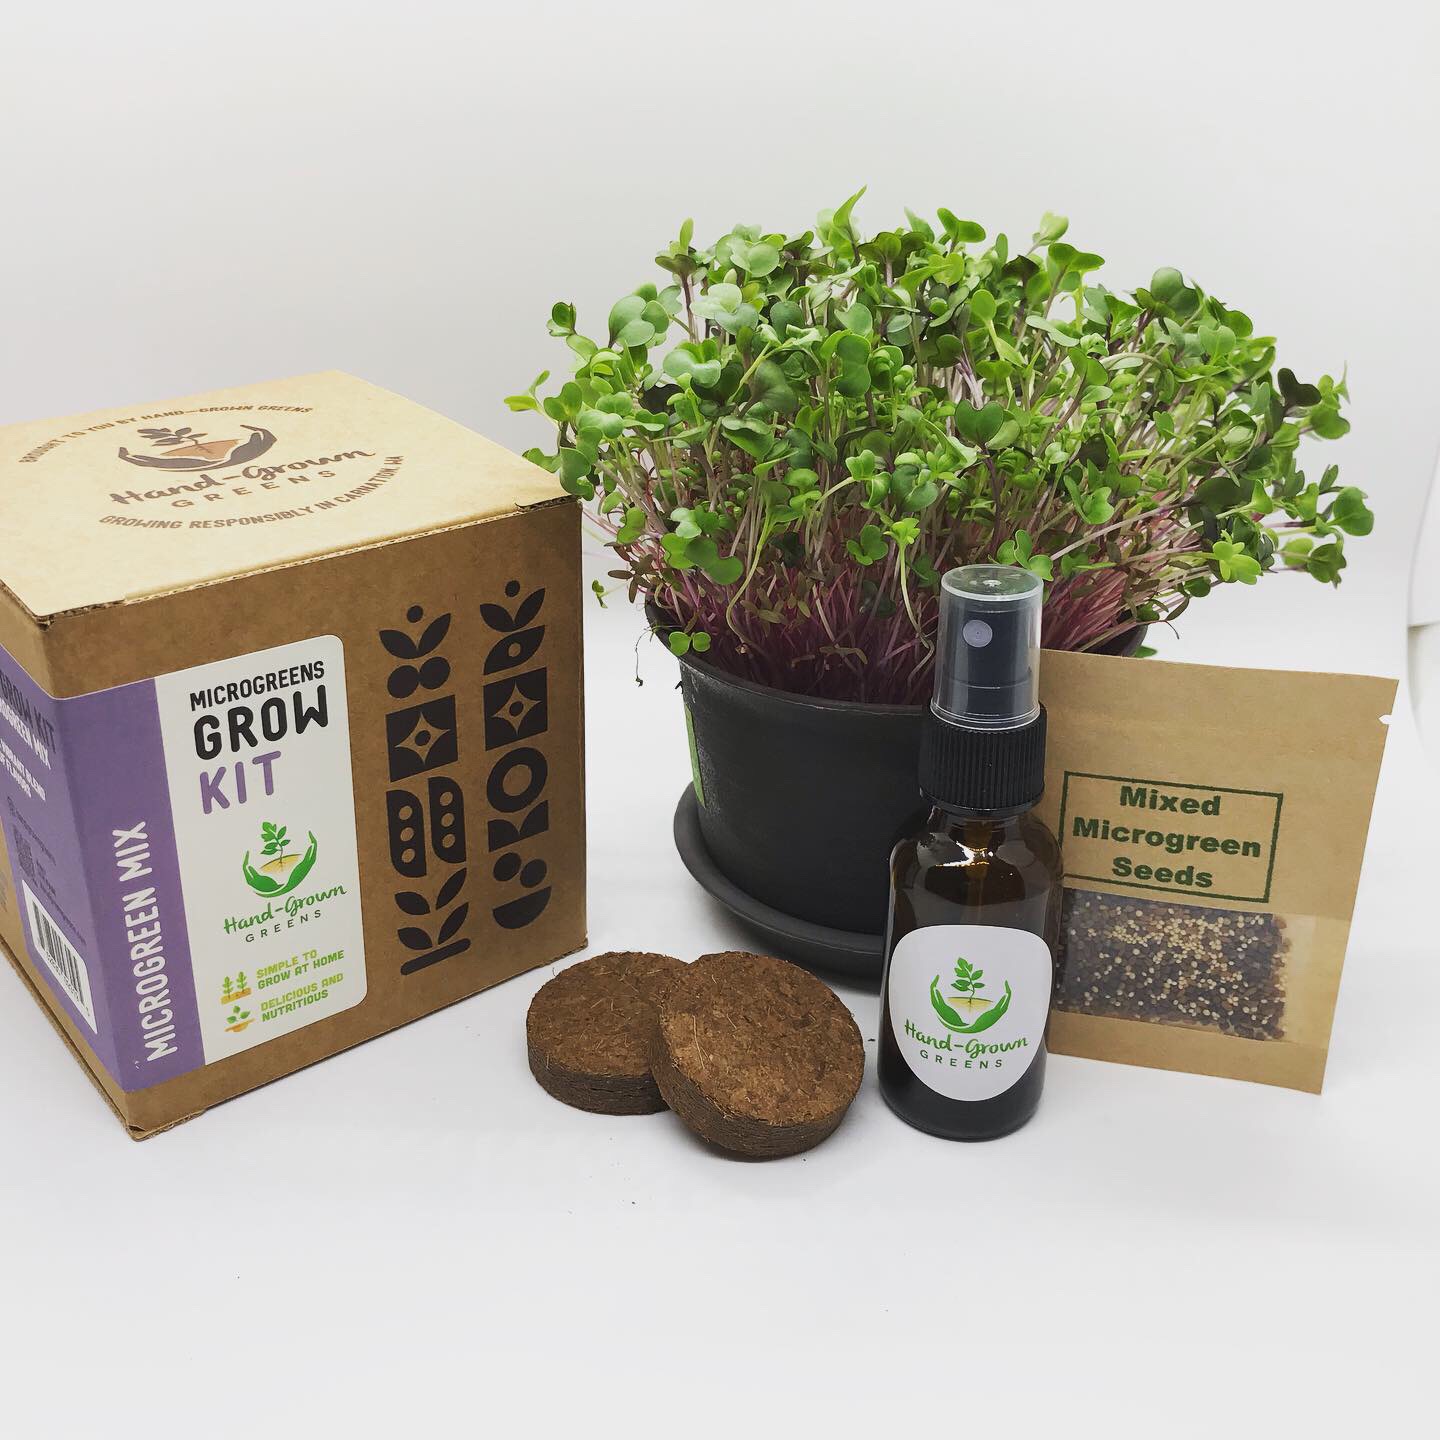
Seeding and Growing Tips
There are many different Micorgreen Mixes on the market. These are pre-blended microgreen seeds of several different varieties. Hand-Grown Greens offers its own unique blend which may contain: broccoli, kale, kohlrabi, cabbage, mustard, arugula, cress. No soaking is required. Simply ensure that your seeds are scattered densely and evenly over your planting surface. . As a general rule, microgreens require little to no nutrients to grow, so there is no need to worry about adding fertilizer or similar products. Cover (mist 2x per day) until germinated. Then uncover and expose to light.
When to Harvest
Microgreens mix should be ready to harvest in around 8-10 days. The greens should be approximately 3 inches in height (though, being a mix, these heights may vary). Use sharp, clean scissors to cut and enjoy!
Nutrition and Flavor
Like all microgreens you can be sure that a mix is packed with concentrated levels of vitamins, minerals and other phytonutrients
The flavor will be well-rounded and a culmination of the different greens. Microgreens mixes tend to be very versatile and can be consumed as a salad by itself or as a compliment to other salads and entrees.
Microgreens are becoming more and more popular. Many people are seeing the benefits of growing these little greens themselves Yet, some people give up quickly if their first attempts yield less than stellar results.
But do NOT give up!
You may just have attempted the wrong variety. I urge you to try again. Start with one of these top seven easiest to grow microgreens for beginners.
If you are looking for some step-by-step instructions check out my FREE quick-start video guide that will show you exactly how to get started growing! You can find all the supplies you need to get started at True Leaf Market! And if you are looking for encouragement or inspiration, feel free to follow my Instagram, @handgrowngreens, for more microgreen-related content.